
Step 1: Layout MEtal Fence Posts - Z Post
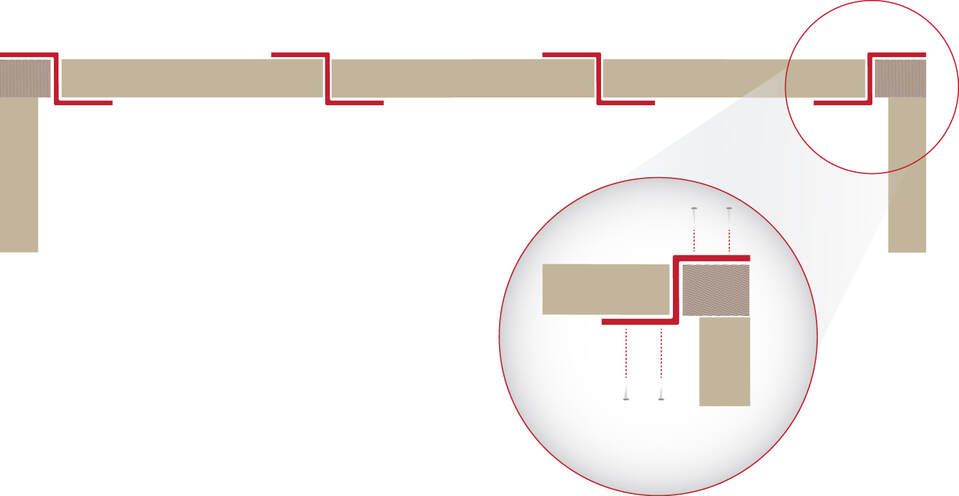
- Plan the fence post orientation, paying attention to end and corner posts.
- At the corners, we recommend screwing into a spacer block to avoid end splitting.
Step 2: set Z posts
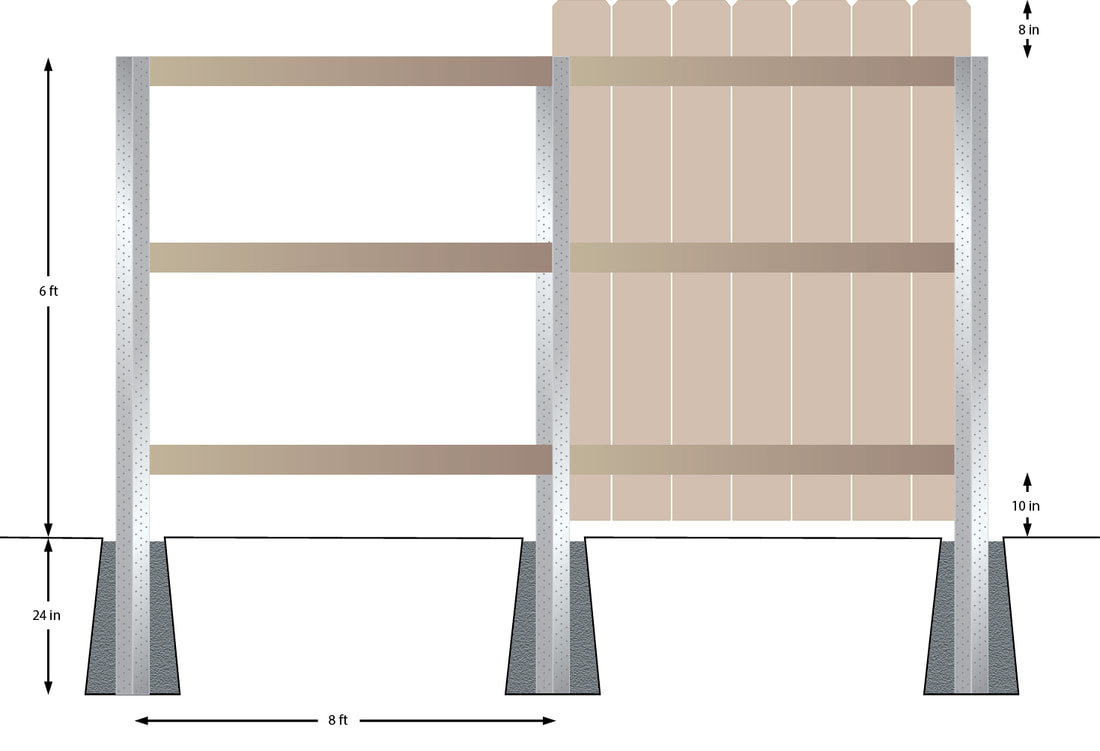
- Z Post Metal Fence Posts should be set approximately 6 to 8 feet apart, depending on fence type and terrain. Set the corner or end posts first, then stretch a line to align all posts in between. Mark hole positions.
- We recommend setting the posts in 8 inch diameter holes. Set posts 24" deep in concrete. Use a level to ensure posts are straight.
- Once the concrete is set (24 to 48 hours depending on weather conditions), begin framing the fence.
- *See your location building regulations for spacing
Step 3: Install Rails onto Z Post Metal FEnce Posts
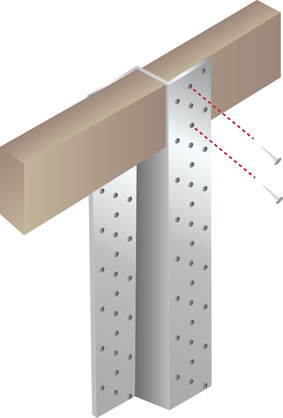
- The hole pattern on a Z Post makes framing easy! Simply screw the rails into the post flanges with 1 1/2" galvanized, stainless steel or coated screws.
- A minimum of 2 screws are recommended per joint.
Step 4: Install pickets and Cover Boards
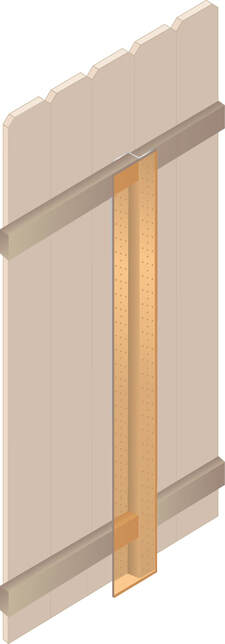
- Install the fence boards, beginning at each end of the fence. Then string a line at the top of each of these boards to create a reference line. Nail or screw the rest of the boards.
- Finish the fence off by covering the exposed side of the Z Post Metal Fence Post with a cover/fascia board.

| z_post_install_brochure.pdf |